LED table
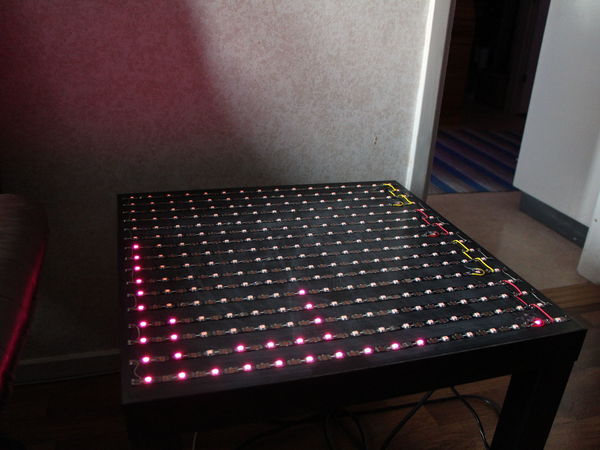
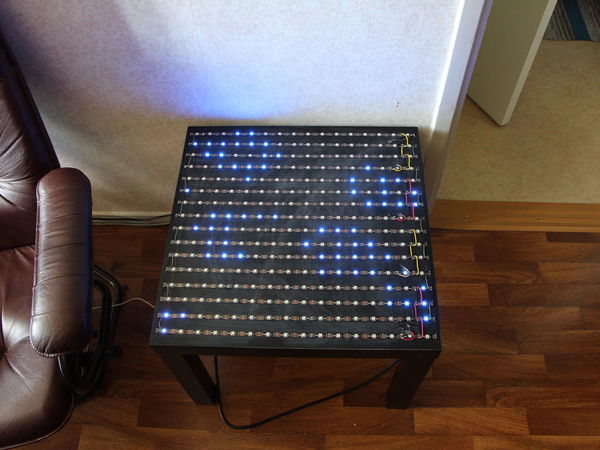
Expensive electronics and a cheap table.
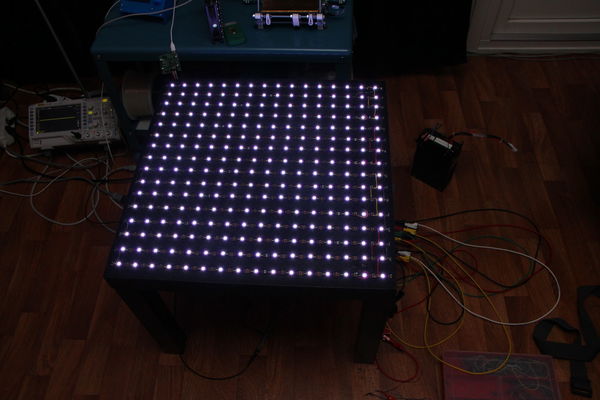
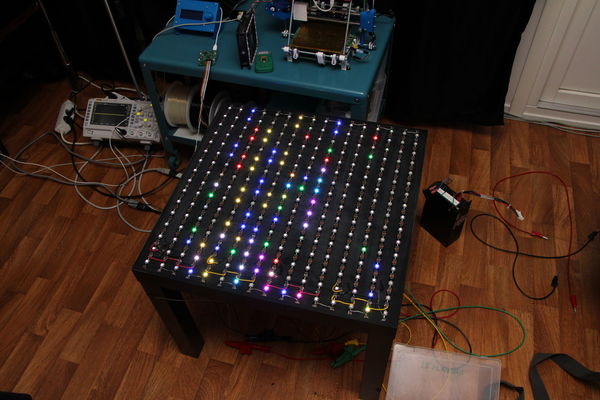
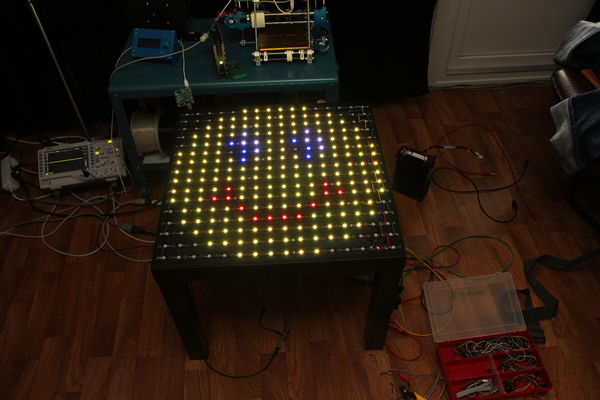
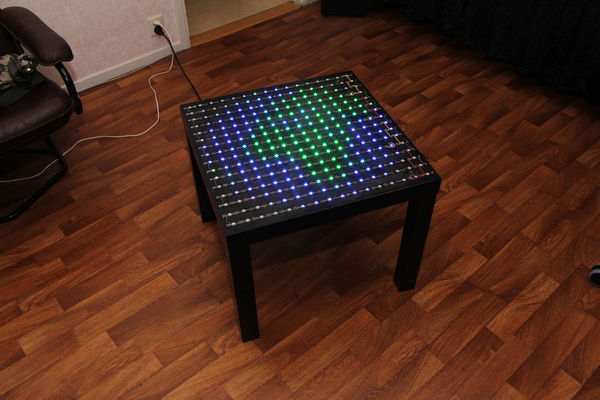
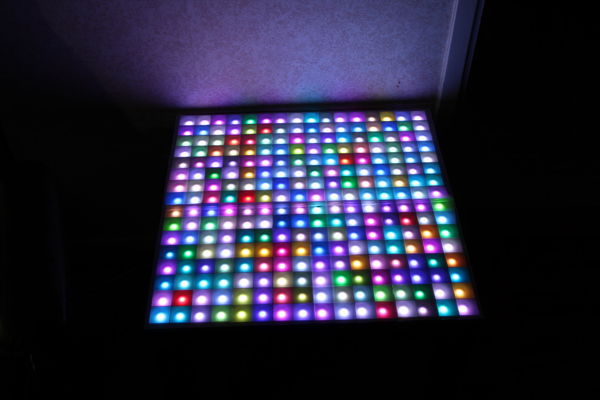
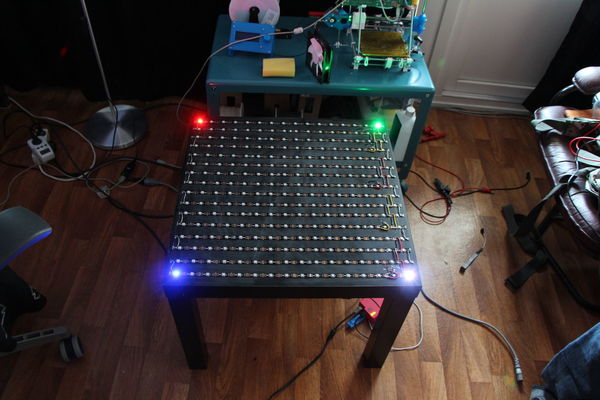
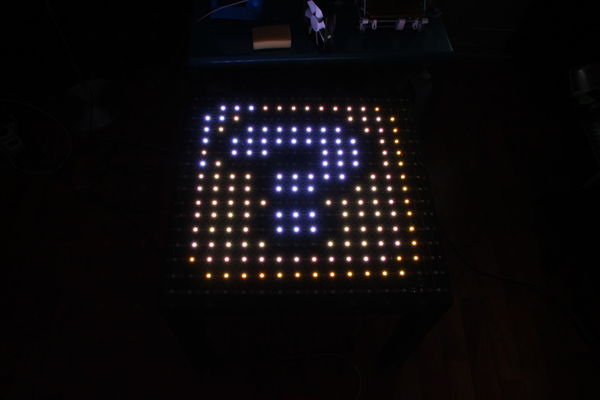
Are you bored of LED lights? No? Me neither. Thats why i thought another 256 RGB LED's in my living room might be a good idea.
Sections
Hardware
Components
- IKEA Lack side table
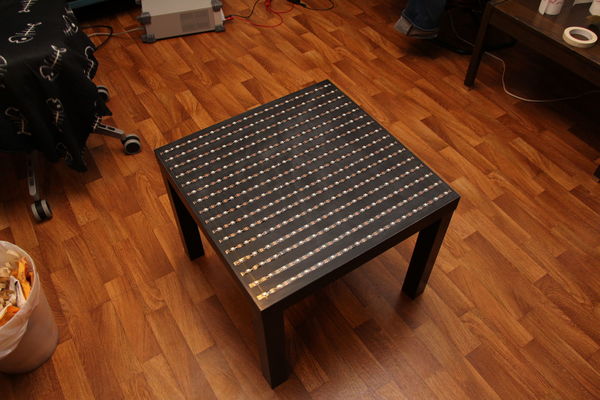
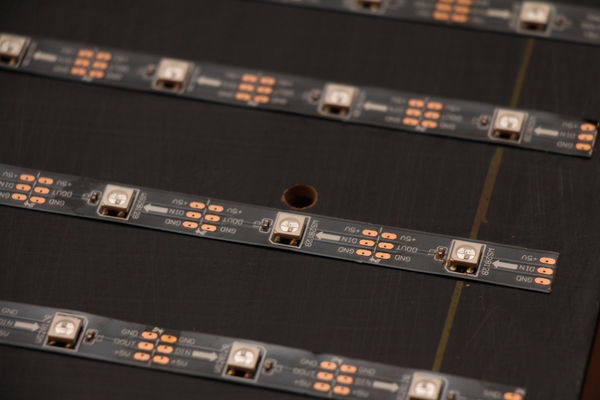
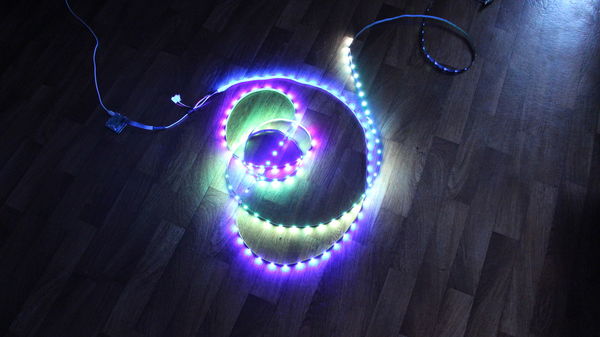
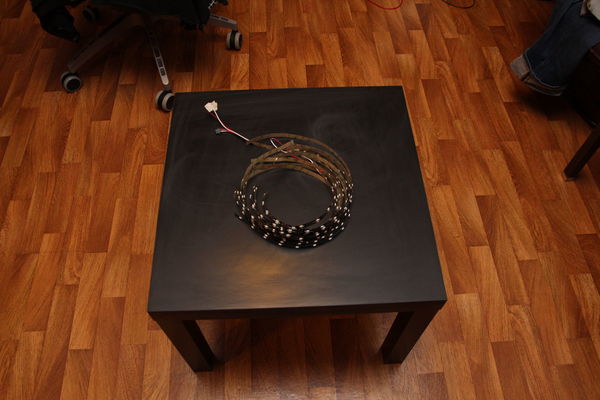
- 2 rolls of 5m 150led WS2812B LED-strips
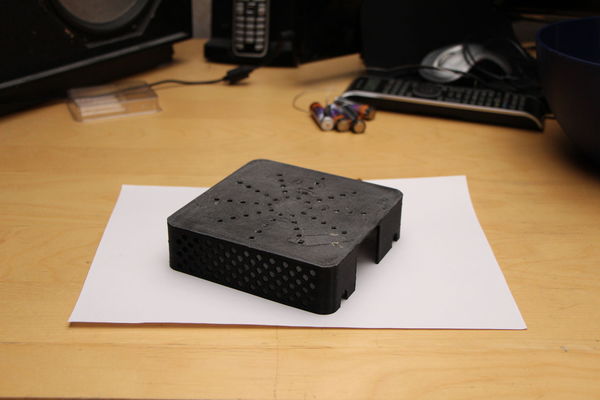
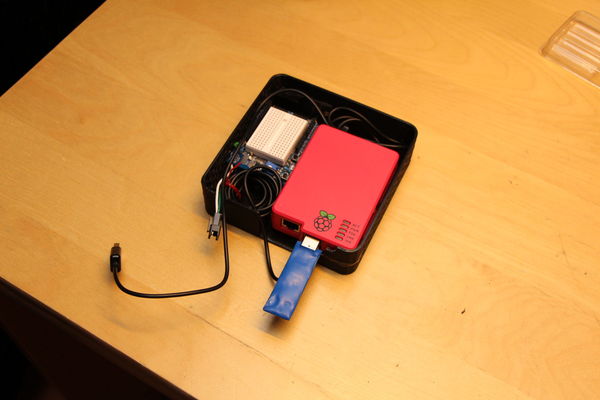
- Raspberry Pi with case
- RT2070 Wireless Adapter
- Arduino Leonardo with prototyping shield
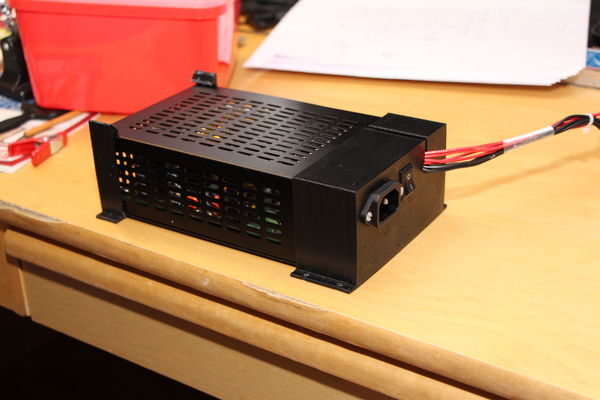
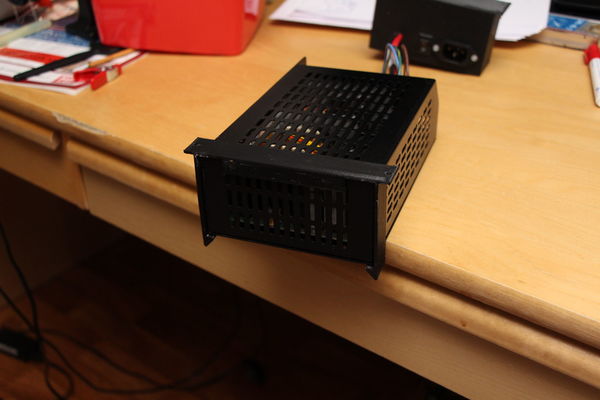
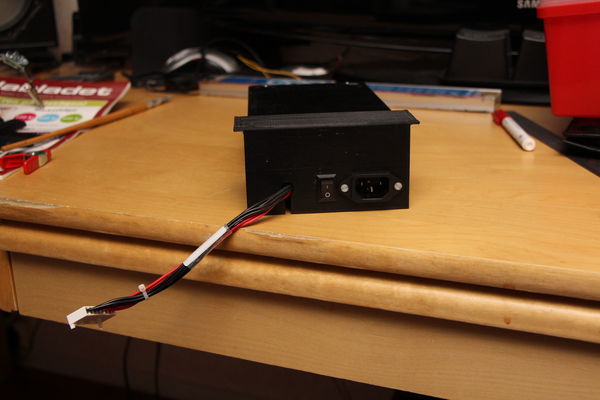
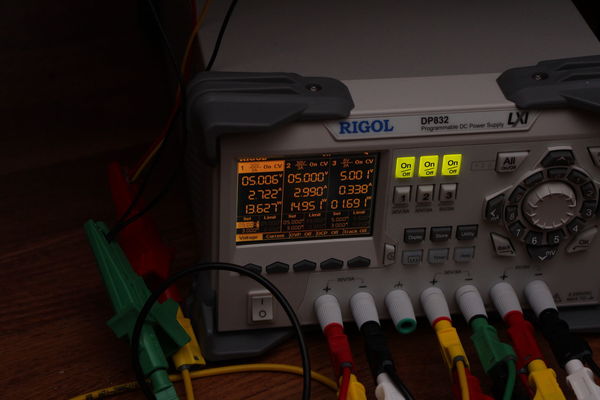
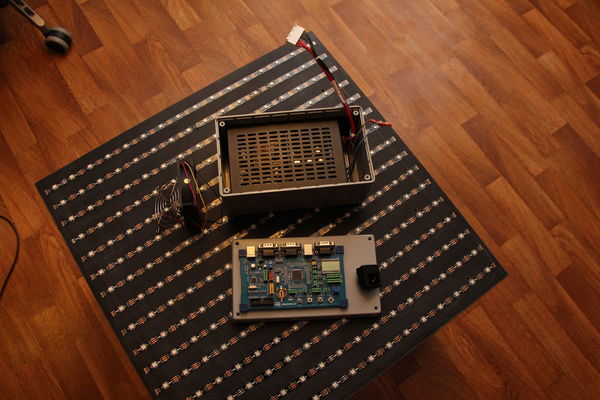
- PSU: International Power Sources Inc. PU110-10C 5V/22A
- PSU Fan: NMB 3110KL-04W-B69
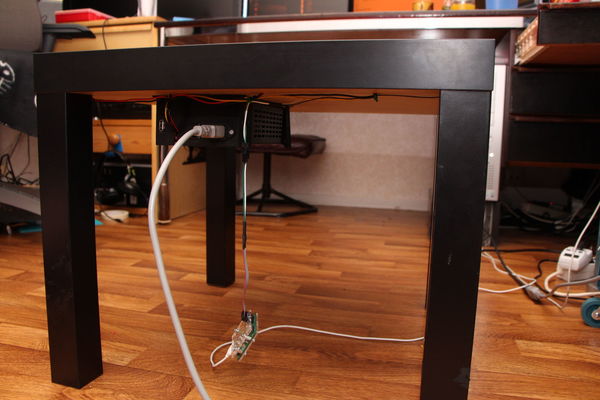
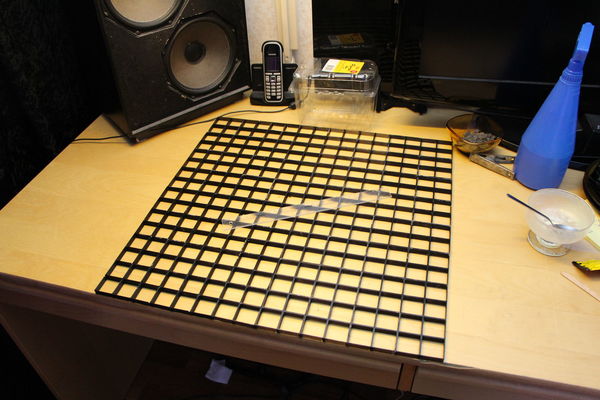
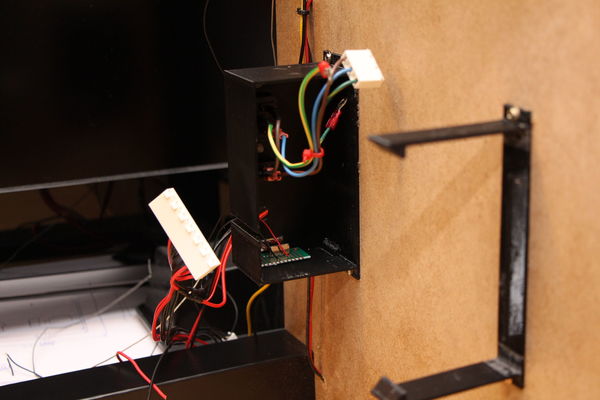
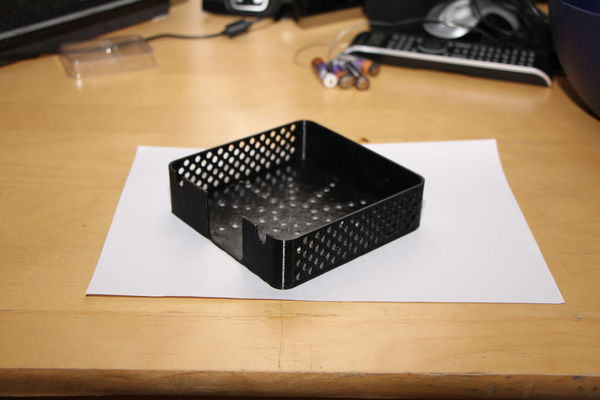
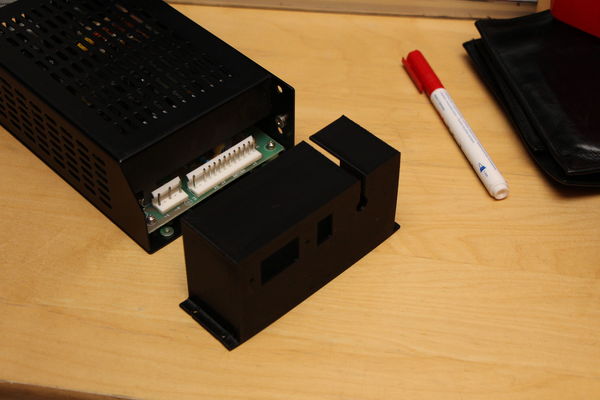
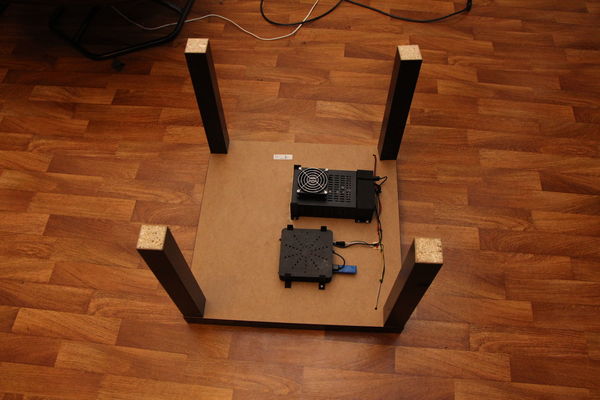
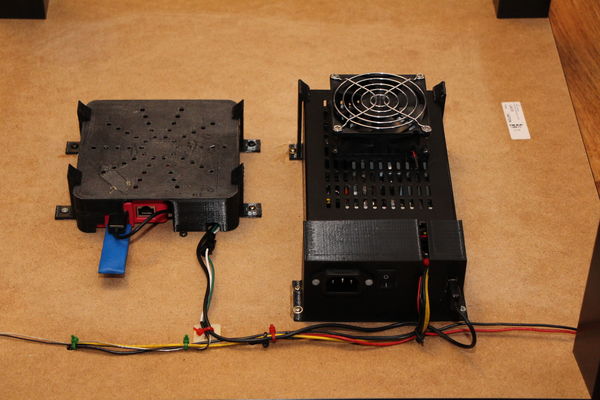
- 3D printed parts to hold the electronics in place
- Misc. wires and connectors
The components is what I used, and i already had most of them. If you want to make a LED table you have to consider your resources and experience, i.e. the power supply i used don't have a built in mains connector so I had to use an external connector. If you don't feel comfortable working with mains power don't do it, get a PSU with all mains parts already done. Be safe.
The fan i used is for 12V, but it worked well with 5V, not all fans do. On the other hand you might manage without a fan.
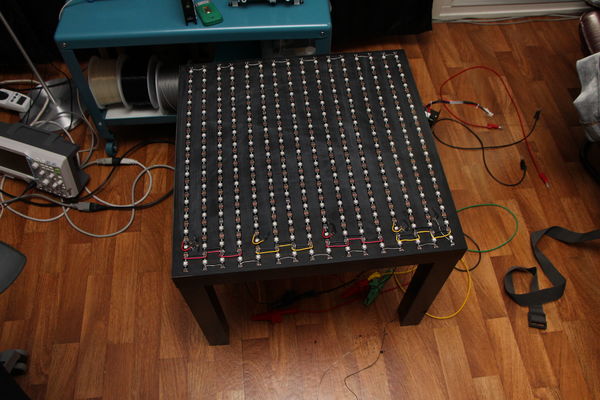
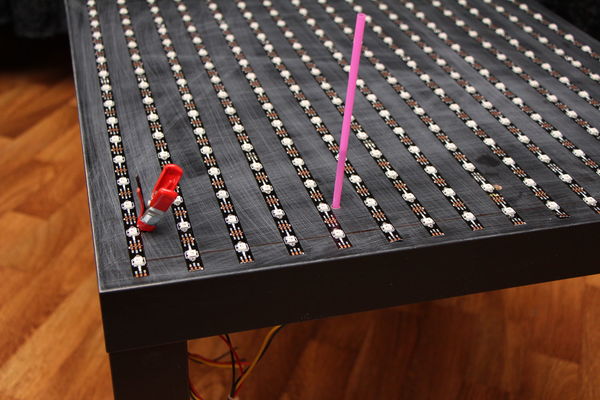
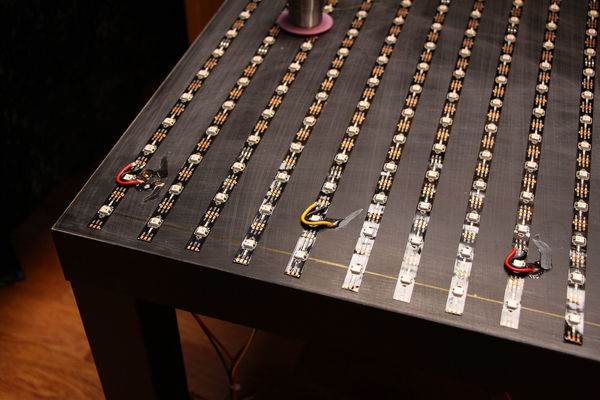
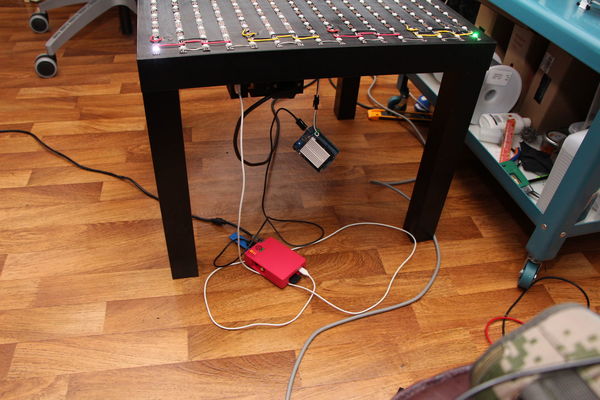
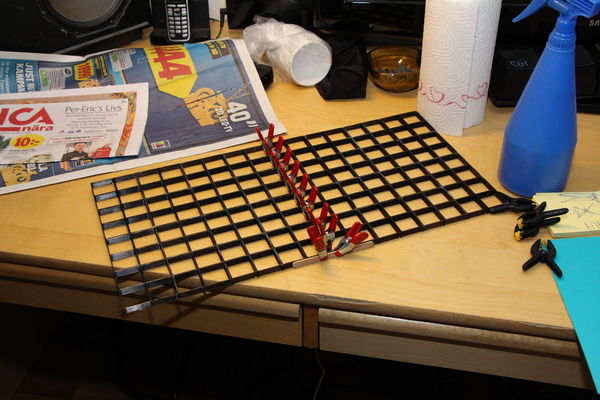
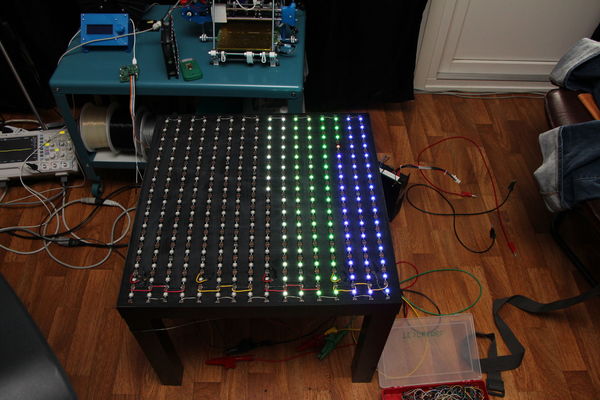
The table-top is hollow and the top and bottom material i quite thin, screws don't grab it to good. Sand the top and bottom and glue stuff on. I used screws mainly to hold stuff in place while the glue dried/cooled. I had some problem getting wires through the tabletop, i solved it by putting a straw in the hole, feeding the wires through the straw and pulling the straw out.
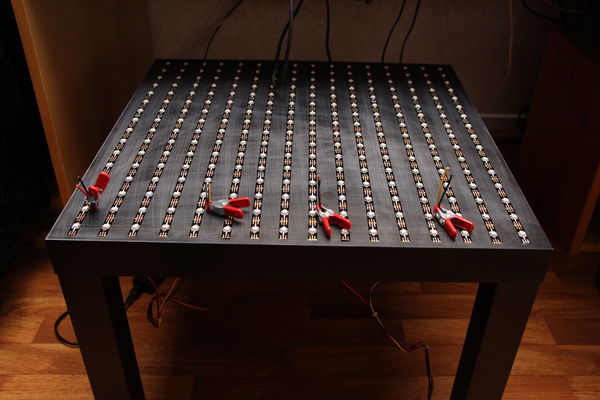
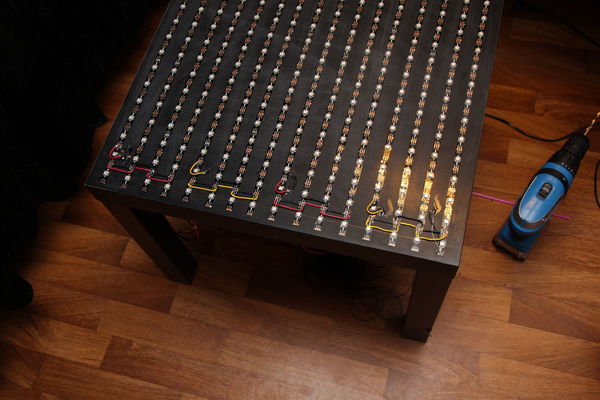
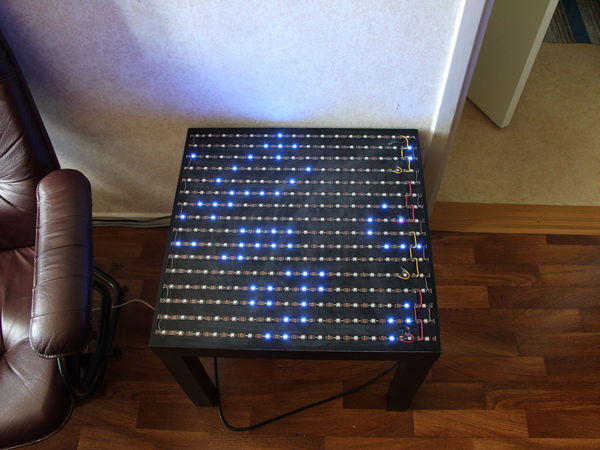
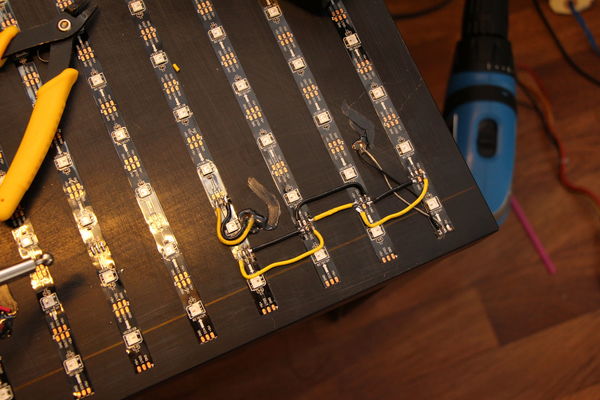
I put the strips right, left, right... that way the signal wires are as short as possible. The Arduino translates the X/Y position to the right LED along the strip.
I tried using my at90usb162 devboard but it didn't have enough RAM (512B), you need 768B of RAM for the LEDs plus some for the program.
Software
Arduino
In short the Arduino takes commands over its USB virtual serial port and stores data in a buffer and outputs data to the led-strips. Supported commands are:
| Command | Action | Response |
| ? | Ask device to identify it self | LED_TABLE,W16,H16,R8,G8,B8 COMMANDS,"G(oTo)X,Y","S(et)RGB","D(isplay)","C(lear)" |
| C | Clear data in buffer and go to position 0,0. | "K" when done. |
| D | Display what's in buffer (send data to strip). | "K" when done. |
| Gxy | Go to position x,y (x,y values sent as single bytes). | |
| Srgb | Set current position to color rgb (r,g,b values sent as single bytes) and go to next position. |
Host side
Might be on a Raspberry Pi, laptop or almost any kind of Linux computer with a USB-portserialLedLib.py
Simple library to simplify the access to the LEDs from python.
fill.py
Fill the table with a single color, black if no color is specified.
flash.py
Flashes the LEDs on and off as fast as possible. A good indicator for problems.
gif.py
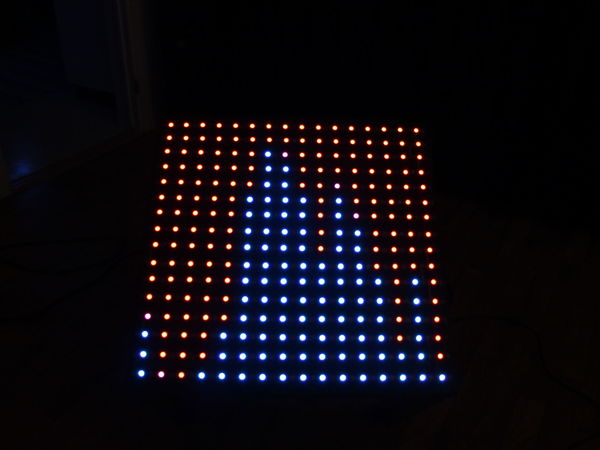
Show 16x16 pixel GIFs on the table. Some GIFs require a "-o" in the command line, others don't. GIFs not included (because of copyright), but i might provide some links below.
spectrum.py
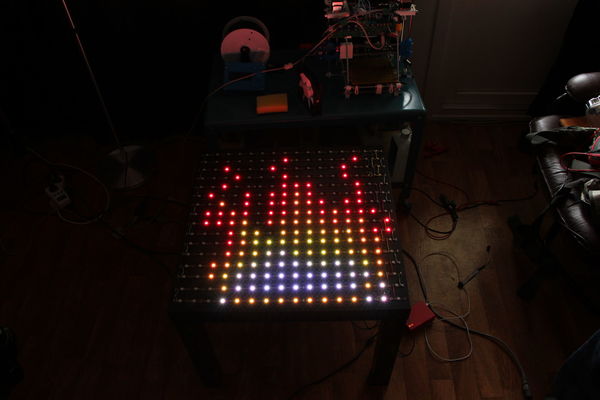
Audio visualizer for PulseAudio. This use a library from a audio visualizer widget for gDesklets called Impulse by Ian Halpern. You need impulse.so and libimpulse.so for the script to work and to make it more complicated those are binaries and different for desktop PCs and Raspberry Pi. In some cases you need to have the index number for your audio output, run this command and try to find something that seems right.
$ pacmd list-sources | less
On rPi:
index: 0
name: <alsa_output.platform-bcm2835_AUD0.0.analog-stereo.monitor>
On my desktop computer:
index: 4
name: <alsa_output.pci-0000_05_01.0.analog-surround-40.monitor>
Some times you need to try a few before you find the right one. To use index 4 use the option "-as 4".
life.py
Game of Life.
rnd.py
Random colors of indiviual LEDs.
Network
This stuff don't have native network support, but there is a piece of software called socat with which you can hook up a physical serial port on computer A to a virtual serial port on computer B. But it doesn't seem to like wireless networks.
Start of by installing the software on both your computers. On Raspian/Debian/Ubuntu etc:
$ sudo apt-get install socat
Start socat in host mode, usually on rPi:
$ socat TCP-LISTEN:1234,fork /dev/ttyACM0,raw &
This will make the serial port /dev/ttyACM0 (Arduino) available on port 1234.
Start socat in client mode:
$ socat -d -d pty,echo=0 tcp:raspberrypi:1234
2014/04/17 22:55:45 socat[24888] N PTY is /dev/pts/4
2014/04/17 22:55:45 socat[24888] N opening connection to AF=2 192.168.1.190:1234
2014/04/17 22:55:45 socat[24888] N successfully connected from local address AF=2 192.168.1.129:47472
2014/04/17 22:55:45 socat[24888] N starting data transfer loop with FDs [3,3] and [5,5]
Look at the first line: "PTY is /dev/pts/4", that means /dev/pts/4 is linked to /dev/ttyACM0 on the host side. The number may change so always check it. Now you can run the scripts over the network:
$ ./flash.py -p /dev/pts/4
Some times I have problem getting the response when i connect over the network:
Traceback (most recent call last):
File "./flash.py", line 43, in <module>>
leds.connect(arg["port"], arg["identifier"])
File "/home/rikard/Desktop/led-table/serialLedLib.py", line 34, in connect
raise Exception('Serial device did not give expected response!')
Exception: Serial device did not give expected response!
Just ignore it and try again, it will work after a few tries. Not sure why it happens.
Links
Source on GitHub
Adafruit's NeoPixel Library for Arduino on GitHub
Ian Halpern's Impulse on launchpad
Google image search: 16x16 animated earth
Google image search: 16x16 animated fire
Google image search: 16x16 animated mario
Videos
Images
